
Getting started
Set up your clinic on DentalOSbd in an afternoon, invite your staff, and follow one patient from booking to receipt.
DentalOSbd runs in a web browser (Chrome, Edge or Safari) on computers, tablets and phones. There is nothing to install. Everyone at the clinic signs in with their own email and password, and every computer sees the same records at the same time.
This page takes you through the first day: setting up the clinic, inviting your team, and seeing a first patient.
1. Set up the clinic
Open Settings (the gear at the bottom of the menu, or your name at the top right) and go through these in order. Each one takes a few minutes.
- Clinic Setup: the clinic's name, address, phone and logo, your opening days and hours, the doctors (with their degrees and BMDC numbers, which print on prescriptions) and the chairs. See Clinic settings.
- Procedures & Fees: check the price list and change the prices to yours. These prices fill in the bill automatically. See Lists & forms.
- Clinical Modules: switch off anything your clinic doesn't do (for example orthodontics), so it doesn't clutter the screens.
- Messages: choose how SMS will be sent, and add your clinic's WhatsApp number. You can do this later.
- Team: invite your receptionist and other doctors. See Team & account.
Tip: Before you start, have your current fee list, each doctor's degrees and BMDC number, and your clinic logo ready.
2. Invite your staff
In Settings → Team, enter each person's name and email and choose their role:
| Role | Can do |
|---|---|
| Owner (doctor or manager) | Everything, including settings, staff and patient privacy |
| Dentist | Clinical work for their patients, and settings except staff and privacy |
| Hygienist / assistant | Clinical work alongside the doctors |
| Front desk | Check-in, appointments, patients' contact details and billing only |
Each person gets an email with a link to set their password. The link is also shown on screen, in case the email lands in spam.
3. See your first patient
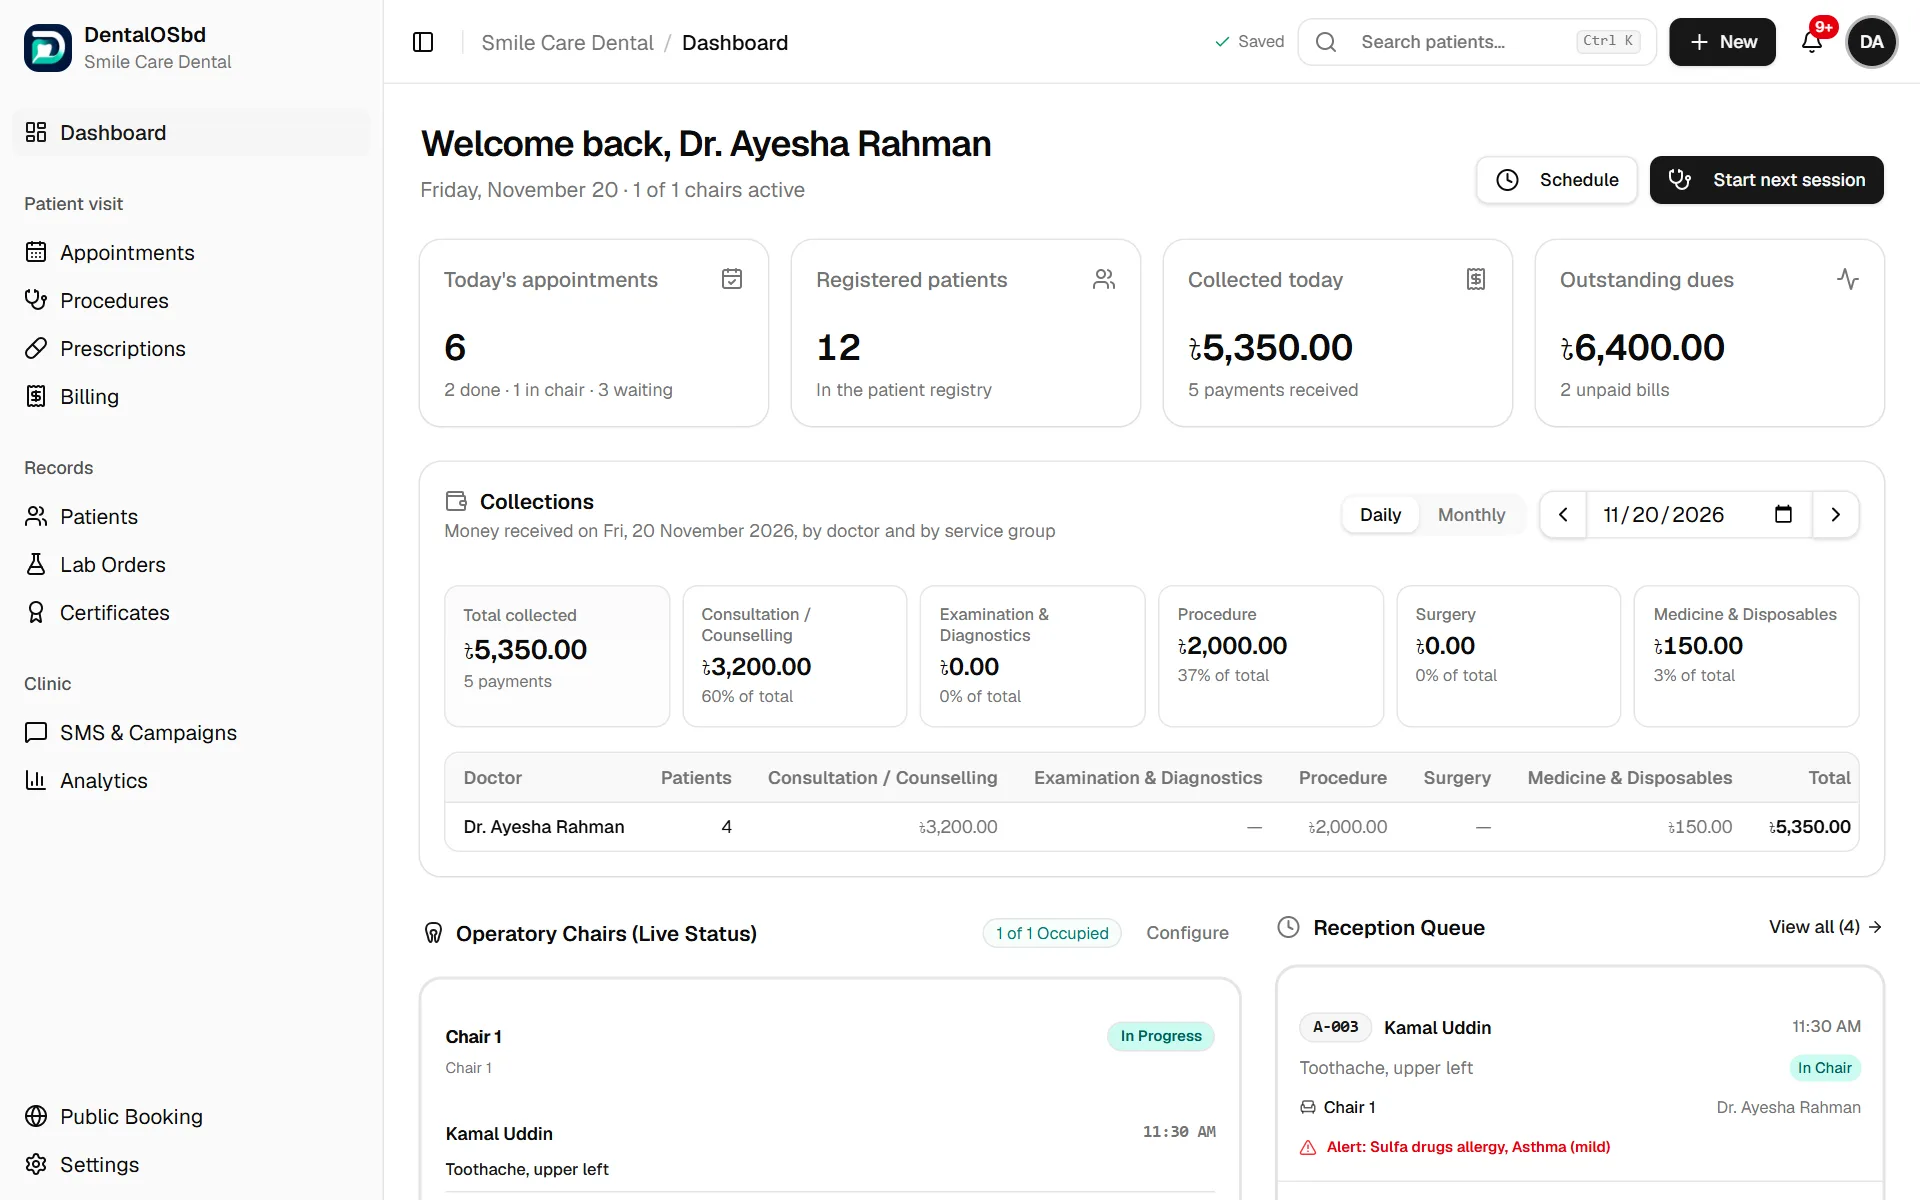
A visit moves through four steps, in the same order as the Patient visit group in the menu:
- Appointments: the front desk books the patient (or adds a walk-in) and checks them in when they arrive.
- Notes, then Examination & Procedure: the doctor opens the visit, writes the complaint and findings, and adds the treatment done from the price list.
- Prescriptions: the doctor writes and signs the prescription, and can plan the next treatment.
- Billing: the front desk takes payment. Anything unpaid stays on the patient's file as a due.
A bar at the top of each of these screens shows which step the visit is at.
4. Bringing your existing patients
You don't need to type in your old records before you start.
- If you have a patient list in Excel or another program, bring it in from Settings → Data → Bring in your patient list.
- If your records are on paper, start with today's patients. When an old patient comes back, register them, photograph their old card and attach it to the visit.
What to read next
- Front desk: Appointments and Billing
- Doctors: Examination & Procedure and Prescriptions
- Owners: Dashboard and the three Settings pages
Still stuck?
Tell us what you were trying to do and what happened. A screenshot helps.